
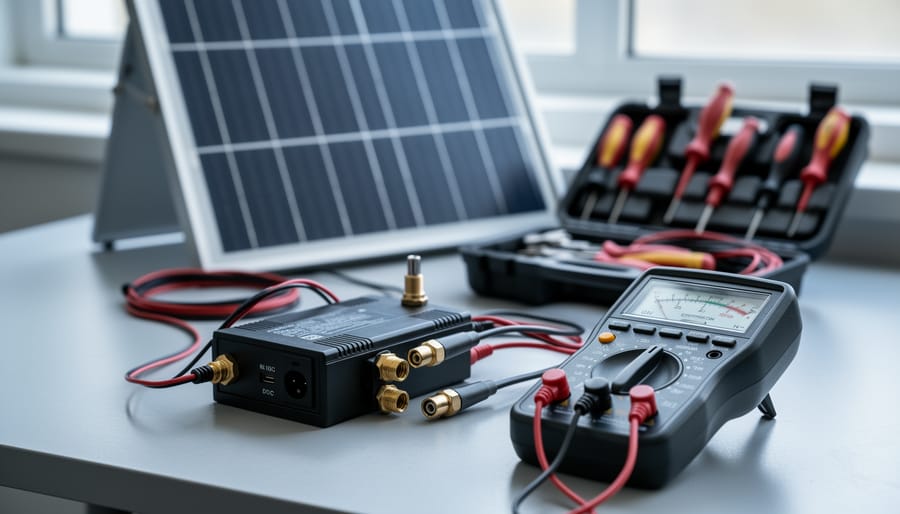
Converting watts to milliamp-hours (mAh) requires a straightforward two-step calculation: first divide watts by voltage to find amps, then multiply by operating hours and convert to milliamps. This conversion is essential for sizing batteries in solar systems, portable electronics, and backup power applications where manufacturers often specify power consumption in watts but battery capacity in mAh.
The calculation bridges two different measurement systems. Watts measure power (how much energy a device consumes per second), while mAh measures charge capacity (how much current a battery can supply over time). You’ll need three inputs: the device’s wattage, the system voltage, and the expected runtime. For example, a 10-watt LED light running on a 12-volt system for 5 hours requires 4,167 mAh of battery capacity.
Understanding this relationship helps you select appropriately sized batteries for solar installations, prevent over-discharge that damages lithium-ion cells, and accurately estimate backup runtime for critical loads. The math itself takes seconds, but applying it correctly means accounting for efficiency losses, depth of discharge limits, and safety margins that vary by battery chemistry.
This guide walks through the conversion formula, provides an interactive calculator for instant results, and demonstrates real-world applications in both DC solar systems and AC inverter setups where voltage conversion adds complexity.
Understanding the Watts to Milliamps Relationship
Watts, milliamps, and voltage form an interconnected triangle in electrical systems. You can’t convert watts to milliamps without knowing voltage because the relationship between these units depends on all three values working together.
Watts (W) measure power, the total energy your device consumes or produces per second. A 60-watt solar panel generates 60 watts of power under optimal conditions. Milliamps (mA) measure current, the flow of electrical charge through a circuit. One milliamp equals one-thousandth of an ampere. Voltage (V) measures electrical pressure, the force pushing current through the circuit.
The fundamental electrical formula ties these together: power equals voltage times current (P = V × I). This means watts = volts × amps. To find milliamps, you rearrange the formula: milliamps = (watts ÷ volts) × 1000. The multiplication by 1000 converts amps to milliamps for easier working with smaller currents.
Here’s why voltage is the critical missing link. A 12-watt device draws 1,000 milliamps at 12 volts, but the same 12-watt device draws 2,400 milliamps at 5 volts. Same power consumption, drastically different current requirements. Without knowing the operating voltage, the conversion is impossible.
Think of it like water flow. Watts represent the total work being done, voltage is the pressure in the pipe, and milliamps measure how much water flows. Higher pressure (voltage) delivers the same work with less flow (current). Lower pressure requires more flow to accomplish identical work.
When working between amps and milliamps, you can convert amps to mA by multiplying by 1000, but getting from watts to either current unit demands voltage as the bridge.
What You Need for the Conversion
To convert watts to milliamps accurately, you need just two essential values and a reliable calculation tool. Missing either piece of information will make the conversion impossible and could lead to dangerous mistakes in component selection or system design.
Here’s what you must have before starting:
- Wattage value, found on device nameplates, product specifications, or calculated from your power requirements
- Operating voltage, printed on equipment labels, listed in technical documentation, or specified in circuit diagrams
- Access to a watts to milliamps calculator, available online or through the Calculate Solar tool suite
Voltage is the critical link between power and current. Without knowing the exact voltage at which your device or circuit operates, the conversion formula cannot produce a meaningful result. This is because the same wattage can correspond to vastly different current draws depending on voltage. A 12-watt device running on 12 volts draws 1,000 milliamps, but that same 12 watts at 120 volts requires only 100 milliamps.
You’ll typically find voltage specifications on metal nameplates affixed to equipment, printed directly on battery housings, or listed in the “electrical characteristics” section of user manuals and datasheets. Solar professionals should look at system voltage configurations (commonly 12V, 24V, or 48V), while electronics applications often work with standard voltages like 5V USB power, 12V DC supplies, or 120V/240V mains power. Always verify you’re using the actual operating voltage, not the input voltage range, for accurate current calculations.
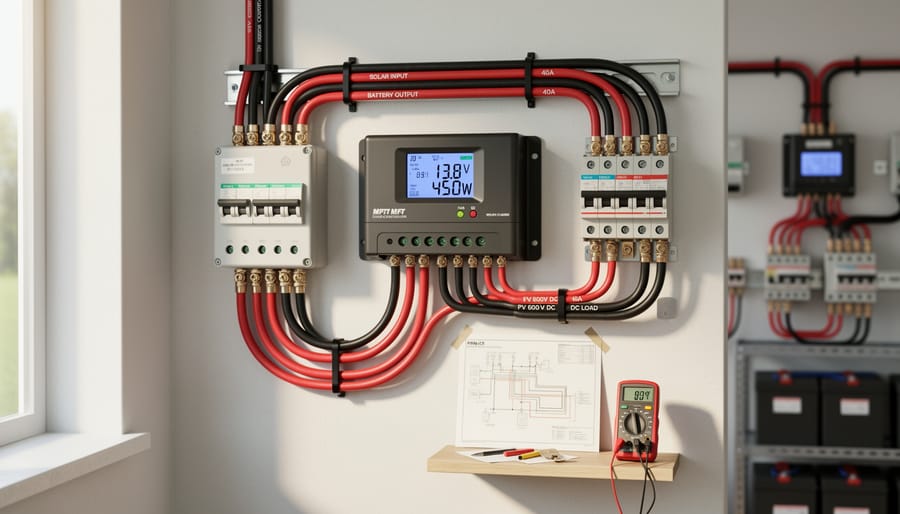
Important Considerations Before Converting
Before you begin converting watts to milliamps, a few critical considerations will save you from costly mistakes and potential safety hazards. Getting these fundamentals right ensures accurate calculations and protects both your equipment and yourself.
First, you must match your system type correctly. The watts to milliamps formula works differently for DC (direct current) and AC (alternating current) systems. Solar installations, batteries, and most electronic devices operate on DC, where the conversion is straightforward. AC systems, like household mains power, introduce power factor and phase angle complications that this basic formula doesn’t account for. Using DC conversion methods on AC circuits will give you dangerously incorrect results.
Voltage accuracy is non-negotiable. Even a small error in your voltage input will throw off your milliamp calculation significantly. A 12V solar panel might actually output 18V at peak, and using the nominal 12V figure instead of the actual operating voltage will underestimate current by 50%. Always use the real operating voltage, not the rated or nominal value, for precision.
Understand that this formula has limits. It calculates theoretical current draw under ideal conditions but doesn’t account for efficiency losses, voltage drop across wiring, temperature effects, or startup surges. Real-world current can be 10-20% higher than calculated values, so build in a safety margin when sizing components.
If you’re working with high-power systems (above 1000W), three-phase equipment, or complex battery banks, consult a qualified electrician or solar professional. Some applications require load calculations, code compliance, and safety measures beyond simple conversion.
Step-by-Step Conversion Process
Step 1: Identify Your Wattage Value
The wattage value represents the power consumption or output of your device, and finding it is typically straightforward once you know where to look.
For solar panels, check the specification label on the back of the panel. You’ll see a “rated power” or “Pmax” value listed in watts, commonly 100W, 200W, or 400W for residential installations. Battery systems often display wattage indirectly; you’ll need to multiply the voltage (12V, 24V, etc.) by the amp-hour (Ah) rating, then divide by hours of use to get watts.
Electronic devices usually show power consumption on a label near the power cord or on the bottom of the unit. Look for “Power,” “Rated Power,” or “Max Power” followed by a number and the letter W. Laptop chargers, LED drivers, and power supplies almost always display this information clearly.
If no label exists, check the manufacturer’s datasheet or user manual. For devices that only list amperage and voltage, multiply those values together to calculate watts (watts = volts × amps). A device drawing 2 amps at 12 volts consumes 24 watts.
For variable-load devices like motors or inverters, use the maximum or rated wattage to ensure safe calculations.
Step 2: Determine the Operating Voltage
Voltage is the second critical input for your conversion. Look for this specification on the device’s label, nameplate, or documentation. Most electronics clearly display operating voltage (e.g., “Input: 12V DC” or “120V AC”). For solar systems, check the battery bank specifications or system voltage rating.
In circuit diagrams, voltage appears at power supply symbols or alongside component ratings. Battery systems typically operate at nominal voltages: 12V for small systems, 24V for medium setups, and 48V for larger installations.
Common voltage standards you’ll encounter:
Solar applications: 12V (single battery), 24V (two batteries in series), 48V (four batteries in series)
Electronics: 5V (USB devices), 12V (automotive, LED strips), 19V (laptops)
Household: 120V AC (North America), 240V AC (appliances, international)
Always verify whether your system uses DC (direct current) or AC (alternating current), as the calculator requires DC voltage. If working with AC power, you may need additional conversion steps. When voltage isn’t clearly marked, consult the manufacturer’s specifications or measure directly with a multimeter set to the appropriate voltage range.
Step 3: Enter Values into the Calculator
With your wattage and voltage values in hand, navigate to the calculator interface at the top of this page. You’ll see two clearly labeled input fields: one for watts and one for voltage. Enter your wattage value in the first field, the calculator accepts decimal values, so 7.5W or 100.25W work perfectly fine. Next, input your operating voltage in the second field using the same precision.
The calculator automatically assumes watts for power and volts for voltage, so there’s no unit dropdown to worry about. Simply type the numbers you’ve gathered from the previous steps. Once both fields contain valid numbers, the calculator processes your conversion instantly, no “calculate” button needed. The result appears immediately below the input fields, displaying your current draw in milliamps (mA).
If you’re working with fractional values, don’t round prematurely. A solar panel rated at 8.33V should be entered exactly as specified rather than rounded to 8V, since voltage precision directly affects current calculations and can impact wire sizing or fuse selection for your installation.
Step 4: Read and Interpret Your Results
Once you click calculate, the tool displays your result in milliamps (mA). This number represents the electrical current your device or component draws at the specified voltage. For solar and electronics professionals, understanding what this figure means is essential for making informed decisions about system design and component compatibility.
The milliamp value tells you how much current flows through your circuit. A 60-watt solar panel operating at 12 volts, for example, produces 5,000 mA (or 5 amps). This current rating directly impacts everything from wire sizing to circuit protection requirements. Higher current demands thicker wiring to prevent voltage drop and overheating, while lower current allows for smaller gauge wire and more compact designs.
- Record the milliamp result immediately, you’ll need it for subsequent calculations and component specifications.
- Convert to amps if working with larger systems by dividing milliamps by 1,000 (5,000 mA = 5 A).
- Compare your result against component ratings to ensure compatibility; most devices list maximum current capacity.
- Apply a safety margin of 20-25% when selecting components, if your calculation shows 4,000 mA, choose components rated for at least 5,000 mA.
For solar charge controllers, the milliamp figure helps you verify that the controller can handle your panel’s output current. If your panels produce 8,000 mA combined and your controller is rated for only 6,000 mA, you’re risking equipment failure. Similarly, in electronics projects, knowing the exact current draw prevents blown fuses and damaged circuits. The calculator removes guesswork, giving you precise numbers for purchasing wire, fuses, breakers, and other current-dependent components.
Verifying Your Conversion Results
After calculating your watts to milliamps conversion, verification ensures accuracy before you commit to purchasing components or designing circuits. Mistakes at this stage can lead to undersized wiring, blown fuses, or damaged equipment, especially critical in solar installations where safety margins matter.
The quickest verification method reverses the calculation. Multiply your milliamp result by the voltage and divide by 1000. If you converted 60 watts at 12 volts and got 5000 mA, the reverse check is (5000 × 12) ÷ 1000 = 60 watts. The numbers should match exactly. Any discrepancy means you’ve entered incorrect values or misplaced a decimal point.
Compare your calculated milliamp value against manufacturer specifications when available. Device datasheets typically list both power consumption in watts and current draw in amps or milliamps at the rated voltage. Your conversion result should align with these published figures within a small margin. For solar components like charge controllers or inverters, this cross-reference catches errors before you size your system incorrectly.
Several methods confirm your conversion accuracy:
- Use a multimeter set to measure DC or AC current (depending on your system) at the actual device to verify the calculated milliamp draw
- Cross-check with an appliance watts calculator using known current ratings to work backwards to power
- Compare your result with similar devices or components of the same wattage and voltage to spot outliers
- Recalculate using a different method or calculator to ensure consistent results
If your calculated milliamps seem unreasonably high or low, check the voltage first. Using 120V AC when the device operates on 12V DC produces results off by a factor of ten. Confirm you haven’t confused milliamps with amps, 1000 mA equals 1 A, and this confusion is common. When physical measurement with a multimeter contradicts your calculation significantly, the device may draw startup current different from running current, or voltage drop under load affects actual operating conditions.

Real-World Applications and Examples
Converting watts to milliamps proves essential across numerous electrical and solar applications. Here’s how professionals use this conversion in real-world scenarios.
Solar Charge Controller Sizing
When designing a 12V solar system with a 100-watt panel, you need to determine the current flowing into your charge controller. Using the formula (watts ÷ voltage = milliamps):
100W ÷ 12V = 8,333 mA (8.33A)
This tells you the charge controller must handle at least 8.33 amps at peak production. Most professionals add a 25% safety margin, requiring a controller rated for 10.4 amps minimum.
Fuse and Wire Selection
For a 24V DC system running a 72-watt water pump, the current draw is:
72W ÷ 24V = 3,000 mA (3A)
This guides your fuse selection (5A fuse with safety margin) and wire gauge determination. A 3-amp continuous load requires 18 AWG wire for runs under 10 feet, preventing voltage drop and heat buildup.
Battery Charging Calculations
A 48V solar array producing 240 watts generates:
240W ÷ 48V = 5,000 mA (5A) charging current
Knowing this current helps calculate charging time when paired with battery capacity. For deeper analysis of charging scenarios, the Wh to mAh calculator and Wh to Ah conversion tools provide complementary calculations for battery capacity planning.
LED Circuit Design
Running a 5V LED strip rated at 15 watts requires:
15W ÷ 5V = 3,000 mA (3A)
This current value determines your power supply rating and helps size current-limiting resistors or drivers. Undersizing the power supply leads to dimming, flickering, or premature failure.
Each scenario demonstrates why accurate watts-to-milliamps conversion forms the foundation of safe, efficient electrical design across solar and electronics projects.
Next Steps After Conversion
Once you have your milliamp value, translate it into amps by dividing by 1,000. This amperage figure drives critical component decisions. For wire gauge selection, consider both the current and the distance electricity travels. A 5-amp load running through 10 feet of wire requires different gauge than the same load over 50 feet. Voltage drop calculators help determine the minimum safe wire size to prevent power loss and overheating.
Fuse and circuit breaker selection follows your current calculation. The standard practice is sizing protective devices at 125% of your continuous load current. If your conversion shows 8 amps continuous draw, select a 10-amp fuse. This provides safety margin without nuisance tripping.
For solar and battery applications, you often need to extend your calculations beyond instantaneous current. Converting your wattage to amp-hours requires multiplying amps by expected runtime in hours. A 50-watt device at 12 volts draws 4.17 amps; running for 5 hours consumes 20.83 amp-hours from your battery. Similarly, watt-hour calculations (watts times runtime) help size battery banks and determine solar panel array requirements.
Many solar professionals chain multiple conversions together. Start with watts to milliamps, then calculate amp-hours for daily consumption, factor in battery depth of discharge and days of autonomy, and determine required solar panel wattage. Each calculation builds on the previous result, making accuracy at every step essential for reliable system design.
Frequently Asked Questions
Can I convert watts to milliamps without knowing the voltage?
No, voltage is essential for accurate conversion. The formula mA = (W ÷ V) × 1000 requires voltage as the denominator, and attempting the calculation without it yields meaningless results. If voltage isn’t specified on your device or circuit diagram, you must measure it with a multimeter or consult manufacturer documentation before proceeding.
What’s the difference between mA and mAh?
Milliamps (mA) measure current flow at a specific moment, while milliamp-hours (mAh) measure capacity over time. Think of mA as the water flow rate through a pipe and mAh as the total volume a tank can hold. A device drawing 500 mA from a 2000 mAh battery will run for approximately 4 hours (2000 ÷ 500).
Does the calculation differ for AC versus DC systems?
Yes, significantly. This basic formula applies only to DC circuits where power relationships are straightforward. AC systems require accounting for power factor, phase angles, and RMS values, making the conversion more complex and often requiring different equations entirely.
Why is watts to milliamps conversion important for solar systems?
Solar professionals use this conversion to properly size charge controllers, select correct wire gauges, and determine appropriate fuse ratings. A 100W solar panel at 12V produces approximately 8333 mA, which directly affects component selection and system safety.
Can I use this calculator for battery charging calculations?
Yes, but with caution. The calculator shows instantaneous current draw, while battery charging involves variable current over time and efficiency losses. Use the result as a starting point, then apply charging efficiency factors (typically 80-90%) for realistic expectations.
What if my calculated milliamp value seems unusually high or low?
Double-check your voltage input first, as reversed or incorrect voltage is the most common error. Verify your wattage matches the device specification, and ensure you’re using matching units (don’t mix AC and DC values or nominal versus actual voltage).
These conversions become routine with practice, but always verify critical calculations before purchasing components or energizing circuits. Small input errors can lead to undersized wiring or blown fuses in real installations.
Accurate watts to milliamps conversion isn’t just about getting the math right, it’s about protecting your equipment and ensuring your solar or electronics system operates safely and efficiently. A miscalculation can lead to undersized wiring, blown fuses, or damaged components that cost far more than a few minutes spent double-checking your numbers.
The Watts to Milliamps Calculator eliminates guesswork and manual errors, giving you reliable results instantly. Whether you’re designing a solar charging system, selecting the right fuse rating, or sizing components for an electronics project, this tool provides the precision you need.
For complete system planning, explore our related calculators for amp-hours, wire gauge sizing, and solar panel output. These tools work together to help you build safe, efficient electrical systems with confidence. Taking the time to calculate correctly today prevents costly mistakes tomorrow.